
The Order of Draw Series: Part Three - Serum Tubes
This week, we're examining serum tubes—plain red tops and gold serum separator tubes (SST)—and discovering why these tubes must be drawn before tubes containing EDTA, heparin, or other anticoagulants
by Shanise Keith • January 20, 2026
Why Serum Tubes Come Third
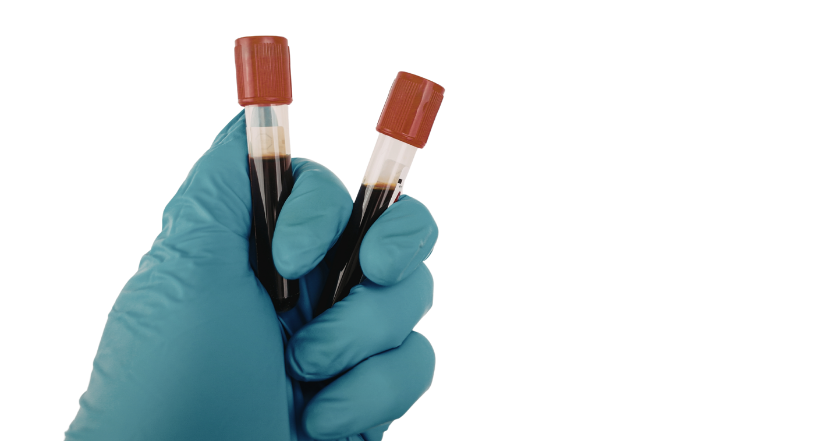
After blood cultures and light blue coagulation tubes, the order of draw brings us to serum tubes: plain red tops and gold SST tubes. These tubes occupy a critical middle position—they must come AFTER light blue tubes (to avoid contaminating coagulation testing) but BEFORE tubes containing anticoagulants like EDTA or heparin (to ensure proper clot formation).
Most red and gold tubes (almost all brands) contain clot activators—silica particles or thrombin—that rapidly trigger the coagulation cascade. If you draw a red tube before a light blue tube, your needle carries these activators into the sodium citrate tube, causing premature clotting activation and falsely shortened PT/INR and aPTT results. Even plain glass red tubes cause problems through contact activation of Factor XII.
Conversely, serum tubes need blood to clot completely. If trace amounts of EDTA or heparin contaminate a serum tube from drawing anticoagulant tubes first, they prevent proper clot formation, leaving fibrin strands in the serum that make specimens unsuitable for testing.
So serum tubes sit precisely positioned: after light blue (protecting coagulation testing), before other anticoagulants (protecting clot formation).
Red Top vs. Gold Top: Understanding the Difference
Here’s where things get interesting: not all serum tubes are created equal, and understanding the differences between plain red tops and SST tubes reveals the evolution of serum collection technology.
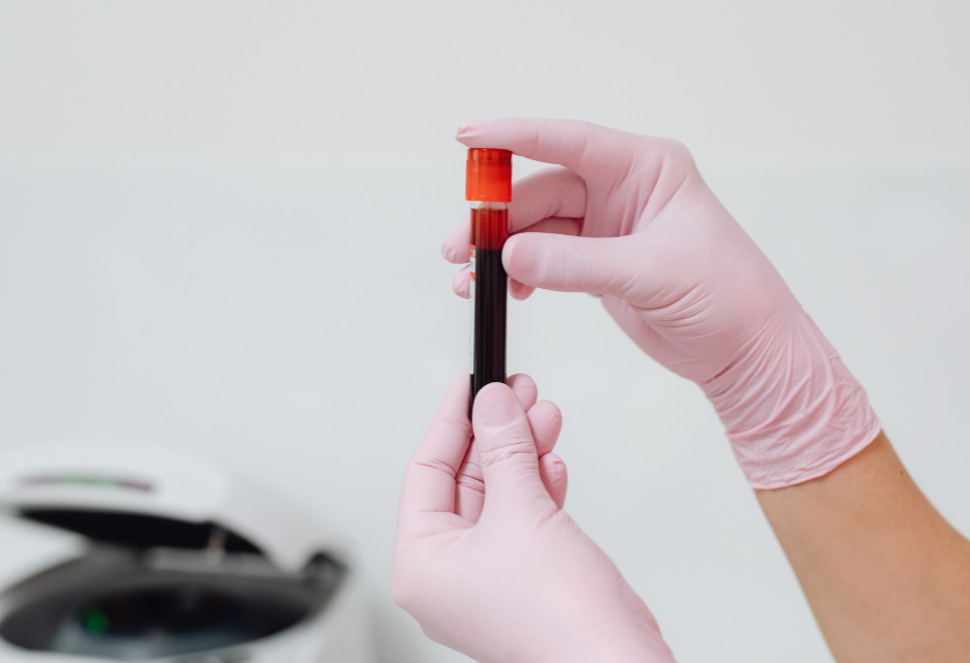
Plain Red Top Tubes traditionally (from the 1940’s up until about 2000) contained no additive at all—just an empty glass tube. Blood would contact the glass surface, which naturally activated Factor XII and triggered the intrinsic coagulation pathway. Glass itself was the clot activator. This worked, but it was slow—taking 30-60 minutes for complete clotting—and occasionally unreliable in patients with clotting disorders.
Modern plain red tubes contain clot activators like silica particles or thrombin to speed clotting time to 15-20 minutes. But here’s the important part: even “plain” red tubes often aren’t truly plain anymore. There is an additive there to promote clotting, not prevent it.
SST Tubes (gold, marbled, red&yellow etc.) represent a technological advancement. They contain a clot activator (usually silica or thrombin) plus a physical barrier—a gel separator that sits between the clot and serum after centrifugation. During the centrifuge spin, this gel moves to form a stable barrier between the cellular components (trapped in the clot) and the clear serum above. This makes serum separation cleaner and reduces the risk of cellular contamination affecting chemistry results.
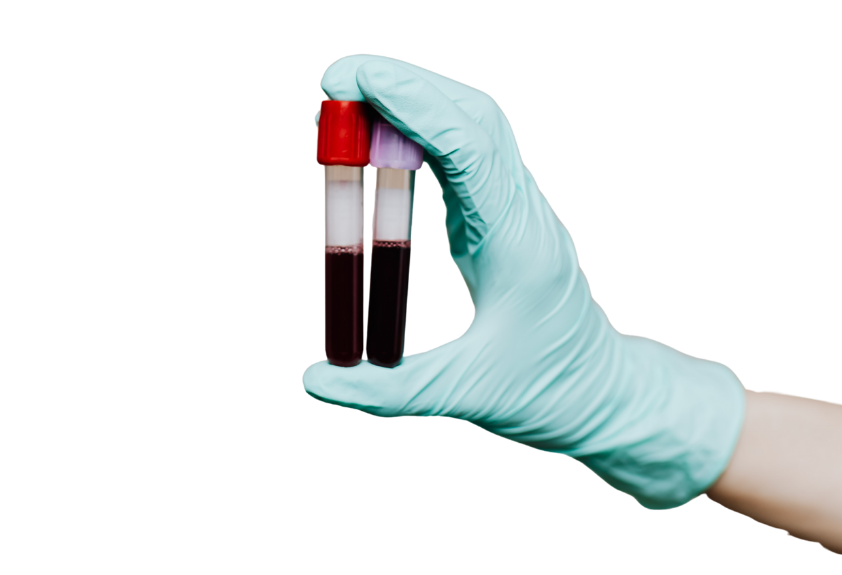
Both tubes need the same thing: complete, uncontaminated clot formation. Both belong in the same position in the order of draw—after light blue tubes but before anticoagulant tubes. Red is preferred before SST, but if they got mixed up it realistically would make no difference. They both contain silica, and the polymer gel won’t transfer.
When Plain Red Matters: Tests That Can’t Use SST
While gold SST tubes are convenient and widely used for routine chemistry testing, they’re not universal. Some tests specifically require plain red top tubes without gel separators because the gel barrier can interfere with accurate results.
Therapeutic drug monitoring is the most common reason to avoid SST tubes. Many medications are lipophilic (fat-soluble) and can be absorbed by the polymer gel separator, leading to falsely low drug levels. This includes:
- Phenytoin (Dilantin) - can show 10-15% lower levels in SST vs plain red
- Phenobarbital - significant absorption into gel
- Carbamazepine (Tegretol) - moderate gel interference
- Cyclosporine and tacrolimus - immunosuppressants with known gel absorption
- Certain psychotropic medications
For patients being monitored for therapeutic drug levels, using an SST tube could make it appear they’re under-dosed when they’re actually at therapeutic levels. The physician might increase the dose unnecessarily, potentially causing toxicity.
Certain immunology tests may show interference from gel components, particularly:
- Complement levels (C3, C4)
- Some autoimmune antibody tests
- Specialized protein electrophoresis studies
The key principle: when in doubt, check your laboratory’s specimen requirements guide. If a test specifically requires a “red top” or “serum (no gel),” don’t substitute an SST tube. The gel barrier that makes specimen processing easier for routine chemistry can compromise accuracy for specialized testing.
This is another reason why understanding the differences between tube types matters—it’s not just about order of draw, but about matching the right tube to the right test.
What Happens When Red Tubes Come Before Light Blue
When you draw a red top tube containing silica or thrombin before a light blue tube, microscopic amounts of these clot activators transfer to the needle surface and contaminate the citrate tube. These activators cause premature activation of the coagulation cascade—the very thing light blue tubes are designed to measure.
The result: falsely shortened clotting times. A patient on warfarin might show an INR of 1.8 when it should read 2.5, leading physicians to increase the dose unnecessarily and putting the patient at risk for bleeding. Plain glass red tubes can potentially cause similar problems through contact activation of Factor XII, though CLSI does make an exception allowing glass nonadditive tubes before citrate tubes. However, given the stakes of accurate coagulation testing, drawing all serum tubes—glass or plastic—after light blue tubes remains the safest approach.
This is a subject that I have written about previously so if you want to learn more about how clot activators contaminate coagulation specimens, see our previous post on red glass tubes and order of draw – We Need to Talk About Red Tubes. You will learn in detail why it is so important to not draw red tubes before light blue tubes.
The History of Serum Collection
The story of serum tubes begins with the earliest days of clinical chemistry. Before anticoagulants existed, all blood testing used serum—because that’s what you got when blood clotted naturally in a container.
In the early 1900s, blood was collected in plain glass tubes and allowed to clot for 30-60 minutes before centrifugation. Temperature variations affected clotting times—cold slowed clotting, heat sometimes caused hemolysis before clotting completed.
The introduction of clot activators in the mid-20th century revolutionized serum collection. Silica particles and thrombin used as additives offered even faster clotting for time-sensitive testing.
The development of gel separator technology in the 1970s and 1980s brought us the SST tube. The polymer gel barrier solved a persistent problem: incomplete separation between serum and cellular components. Without gel, pipetting serum risked disturbing the clot surface and introducing cellular material. The gel created a clean, stable barrier that stayed in place during transport.
Today’s serum tubes represent decades of refinement—optimized gel formulations, carefully selected clot activators, and materials engineered to be chemically inert while promoting rapid, complete clotting.
How Clot Activators Work
Understanding why serum tubes must come before anticoagulant tubes requires understanding exactly how clot activators function—and why anticoagulant contamination disrupts this process.
Silica particles are the standard clot activator used in most modern serum tubes (both plain red tops and gold/red&gold or tiger/marbled SST tubes from major manufacturers like BD and Greiner). The microscopic glass beads provide an enormous surface area that activates Factor XII (Hageman factor) in the intrinsic coagulation pathway. When blood contacts this surface, Factor XII undergoes a conformational change that converts it from an inactive zymogen to an active enzyme.
Think of it like a row of dominoes: Factor XII is the first domino that gets tipped when blood touches the silica surface. When it falls, it knocks over Factor XI (the second domino). Factor XI knocks over Factor IX, which works with Factor VIII to topple Factor X. Factor X teams up with Factor V to convert prothrombin into thrombin—and thrombin is the final domino that actually creates the clot by cutting fibrinogen into fibrin strands. Each “domino” in this cascade is actually a protein enzyme that activates the next one in line, and like dominoes, if you interrupt the sequence anywhere along the way, the whole process stops.
The beauty of silica activation is its reliability—surface area is consistent, activation is rapid (15-20 minutes for complete clotting), and the pathway mimics the body’s natural response to tissue damage. But here’s the vulnerability: this entire clotting cascade requires calcium. If EDTA (a calcium chelator) contaminates the tube, it binds calcium ions and stops the cascade before it can complete. You get partial activation, incomplete clotting, and fibrin strands floating in partially clotted serum.
Thrombin is used in specialty rapid serum tubes (like BD’s RST or Greiner’s BCA Fast Clot tubes) designed for STAT and emergency situations where 5-minute clotting time is needed instead of the standard 30 minutes. Thrombin takes a different approach—it bypasses the cascade entirely and directly converts fibrinogen to fibrin. This is faster and works even in patients with coagulation factor deficiencies. Thrombin cleaves specific peptide bonds in fibrinogen molecules, releasing fibrinopeptides A and B and creating fibrin monomers that spontaneously polymerize into the fibrin clot.
But thrombin still needs normal fibrinogen levels to work, and anticoagulant contamination still causes problems. Heparin, for example, potentiates antithrombin III, which directly inhibits thrombin. Even small amounts of heparin contamination can reduce thrombin activity and delay or prevent complete clotting.
Whether tubes contain silica or thrombin, both clot activators depend on uncontaminated blood to produce clean, complete clots that yield clear serum for chemistry testing. This is why serum tubes must come before anticoagulant tubes in the collection sequence.
Serum vs. Plasma: Why It Matters
Why use serum instead of plasma for chemistry testing? The answer lies in what’s removed during clotting. When blood clots, the cascade consumes clotting factors, activates platelets, and releases various proteins. Serum is essentially plasma minus fibrinogen and several clotting factors.
Most chemistry analyzers and reference ranges were developed using serum. Changing to plasma would require revalidating reference ranges and potentially recalibrating instruments. Additionally, serum offers practical advantages: no anticoagulant interference with assays (EDTA chelates calcium/magnesium, heparin interferes with some enzyme and immunoassays), longer stability for many analytes, and cleaner specimens with gel separator tubes that create an absolute barrier between cells and serum.
That said, plasma works better for certain tests—it’s available immediately without waiting for clotting, and some specialized tests specifically require plasma. But for routine chemistry panels, serum remains the gold standard.
What Tests Use Serum Tubes?
Serum tubes are workhorses in clinical chemistry. Here’s what they’re often used for (though many of these tests can also be performed from plasma):
Chemistry panels: Comprehensive metabolic panels (CMP), basic metabolic panels (BMP), liver function tests (ALT, AST, alkaline phosphatase, bilirubin), kidney function tests (creatinine, BUN), electrolytes (sodium, potassium, chloride, CO2), calcium, magnesium, phosphorus
Cardiac markers: Troponin, CK-MB, BNP, myoglobin—all critical for diagnosing and managing acute coronary syndrome and heart failure
Lipid panels: Total cholesterol, LDL, HDL, triglycerides—screening and monitoring cardiovascular disease risk
Therapeutic drug monitoring: Levels of medications like digoxin, phenytoin, valproic acid, and many others
Endocrine testing: Thyroid function (TSH, T3, T4), cortisol, testosterone, estrogen, and numerous other hormone assays
Immunology and serology: Antibody testing, infectious disease serology (HIV, hepatitis, etc.), autoimmune markers (ANA, rheumatoid factor)
Tumor markers: PSA, CEA, CA-125, and other cancer screening and monitoring tests
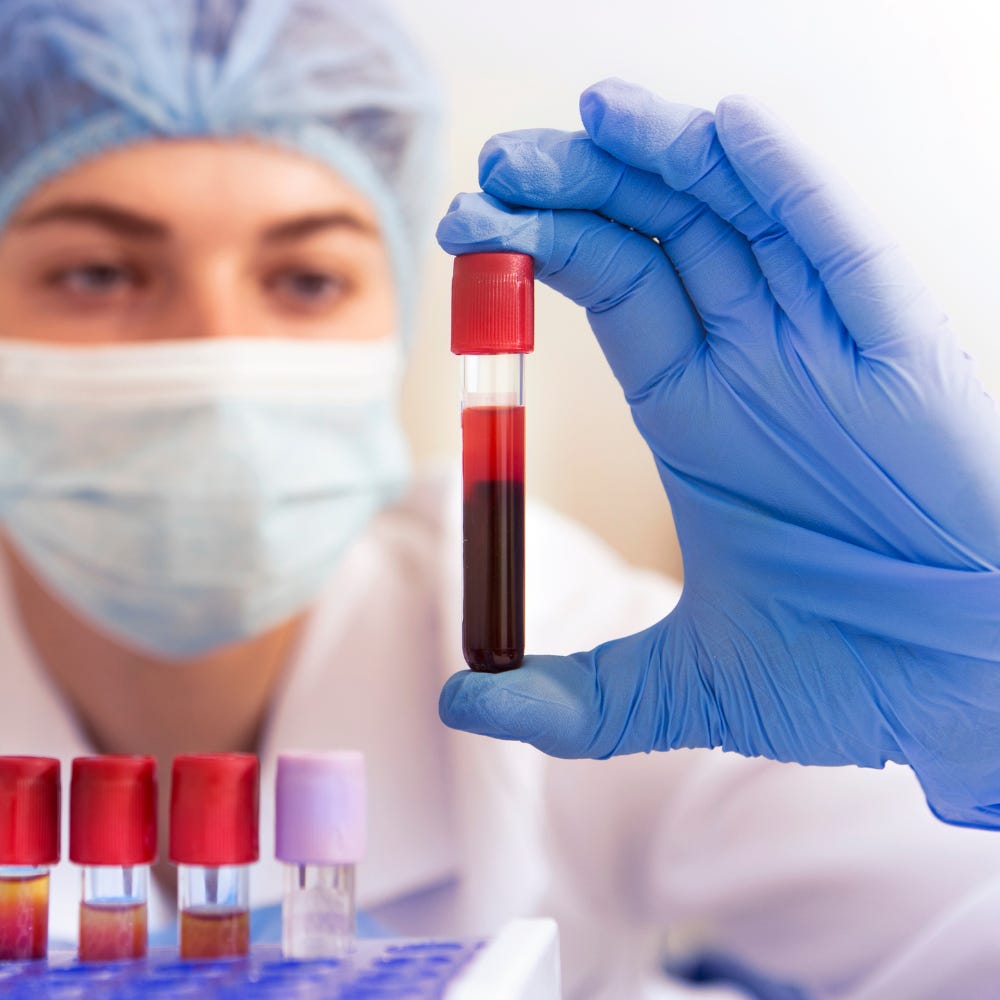
The breadth of testing performed on serum tubes makes their proper collection absolutely critical. Contamination or improper clotting doesn’t just affect one test—it can compromise an entire chemistry panel and require a complete redraw.
Common Problems and Prevention
Even though serum collection seems straightforward, problems occur:
Incomplete clotting produces fibrin strands that clog analyzer probes. Causes include insufficient clotting time before centrifugation (minimum 30 minutes), anticoagulant contamination from incorrect order of draw, or patients on anticoagulation therapy.
*Here’s a critical point: just because a clot appears solid doesn’t mean clotting is complete. Many phlebotomists will pick up a red tube after 10 minutes, turn it upside down, and if the clot doesn’t slide, they assume it’s ready for centrifugation. This is incorrect. While clot activators speed initial clot formation to 15-20 minutes, the clotting process continues as the clot retracts and serum separates. Centrifuging too early—even with a seemingly solid clot—can trap serum in the clot matrix, yield insufficient serum volume, and leave fibrin strands in the specimen. The full 30-minute wait ensures complete clot retraction and optimal serum separation.
Hemolysis occurs when red blood cells rupture, releasing intracellular contents that interfere with testing. Common causes: traumatic venipuncture, small needle gauge forcing cells through, vigorous shaking, or temperature extremes.
Insufficient sample volume in SST tubes prevents proper gel barrier formation during centrifugation, requiring redraw.
Prevention is straightforward: follow order of draw, use appropriate needle gauge (21-23), allow blood to flow freely, invert tubes gently 5-8 times, allow adequate clotting time, and store upright at room temperature until processing.
The Connection to Patient Care
Seemingly small technical details directly affect patient safety and diagnostic accuracy. Consider:
A patient with chest pain needs troponin to rule out myocardial infarction. The phlebotomist draws EDTA before the gold SST. Trace EDTA prevents complete clotting, creating fibrin strands that clog the analyzer. The lab rejects the specimen. The troponin result is delayed 90 minutes—potentially delaying critical treatment for a patient having a heart attack.
A diabetic patient has routine metabolic labs drawn. Green heparin tube comes before gold SST. Heparin contamination falsely elevates the potassium result. The physician treats for hyperkalemia based on a spurious result caused by contamination—admitting the patient unnecessarily for a problem that didn’t exist.
These scenarios happen daily in laboratories everywhere. They’re entirely preventable by following the order of draw.
Looking Ahead
Serum tubes occupy a critical middle position in the order of draw—after blood cultures and light blue tubes (which need sterility and freedom from anticoagulant contamination), but before tubes containing EDTA, heparin, and other anticoagulants. This positioning protects the clotting process that serum collection requires.
Next week, we’ll explore green top tubes and heparin—the anticoagulant that prevents clotting by potentiating antithrombin III. We’ll examine why heparin tubes must come after serum tubes, trace the history of heparin’s discovery from liver tissue, and understand the critical importance of heparin tube positioning in the collection sequence. We’ll also explore the different types of heparin (sodium, lithium, ammonium) and why the specific salt form matters for plasma chemistry testing.
The order of draw is a carefully constructed sequence, with each tube type positioned to protect its intended testing from contamination by tubes drawn later in the sequence. Understanding why serum tubes come third—after blood cultures and coagulation tubes, but before anticoagulant tubes—reinforces the logic behind this patient safety protocol.
Related Posts and Information
overall rating: my rating: log in to rate